Glenn Guy's Digital Photography Workflow
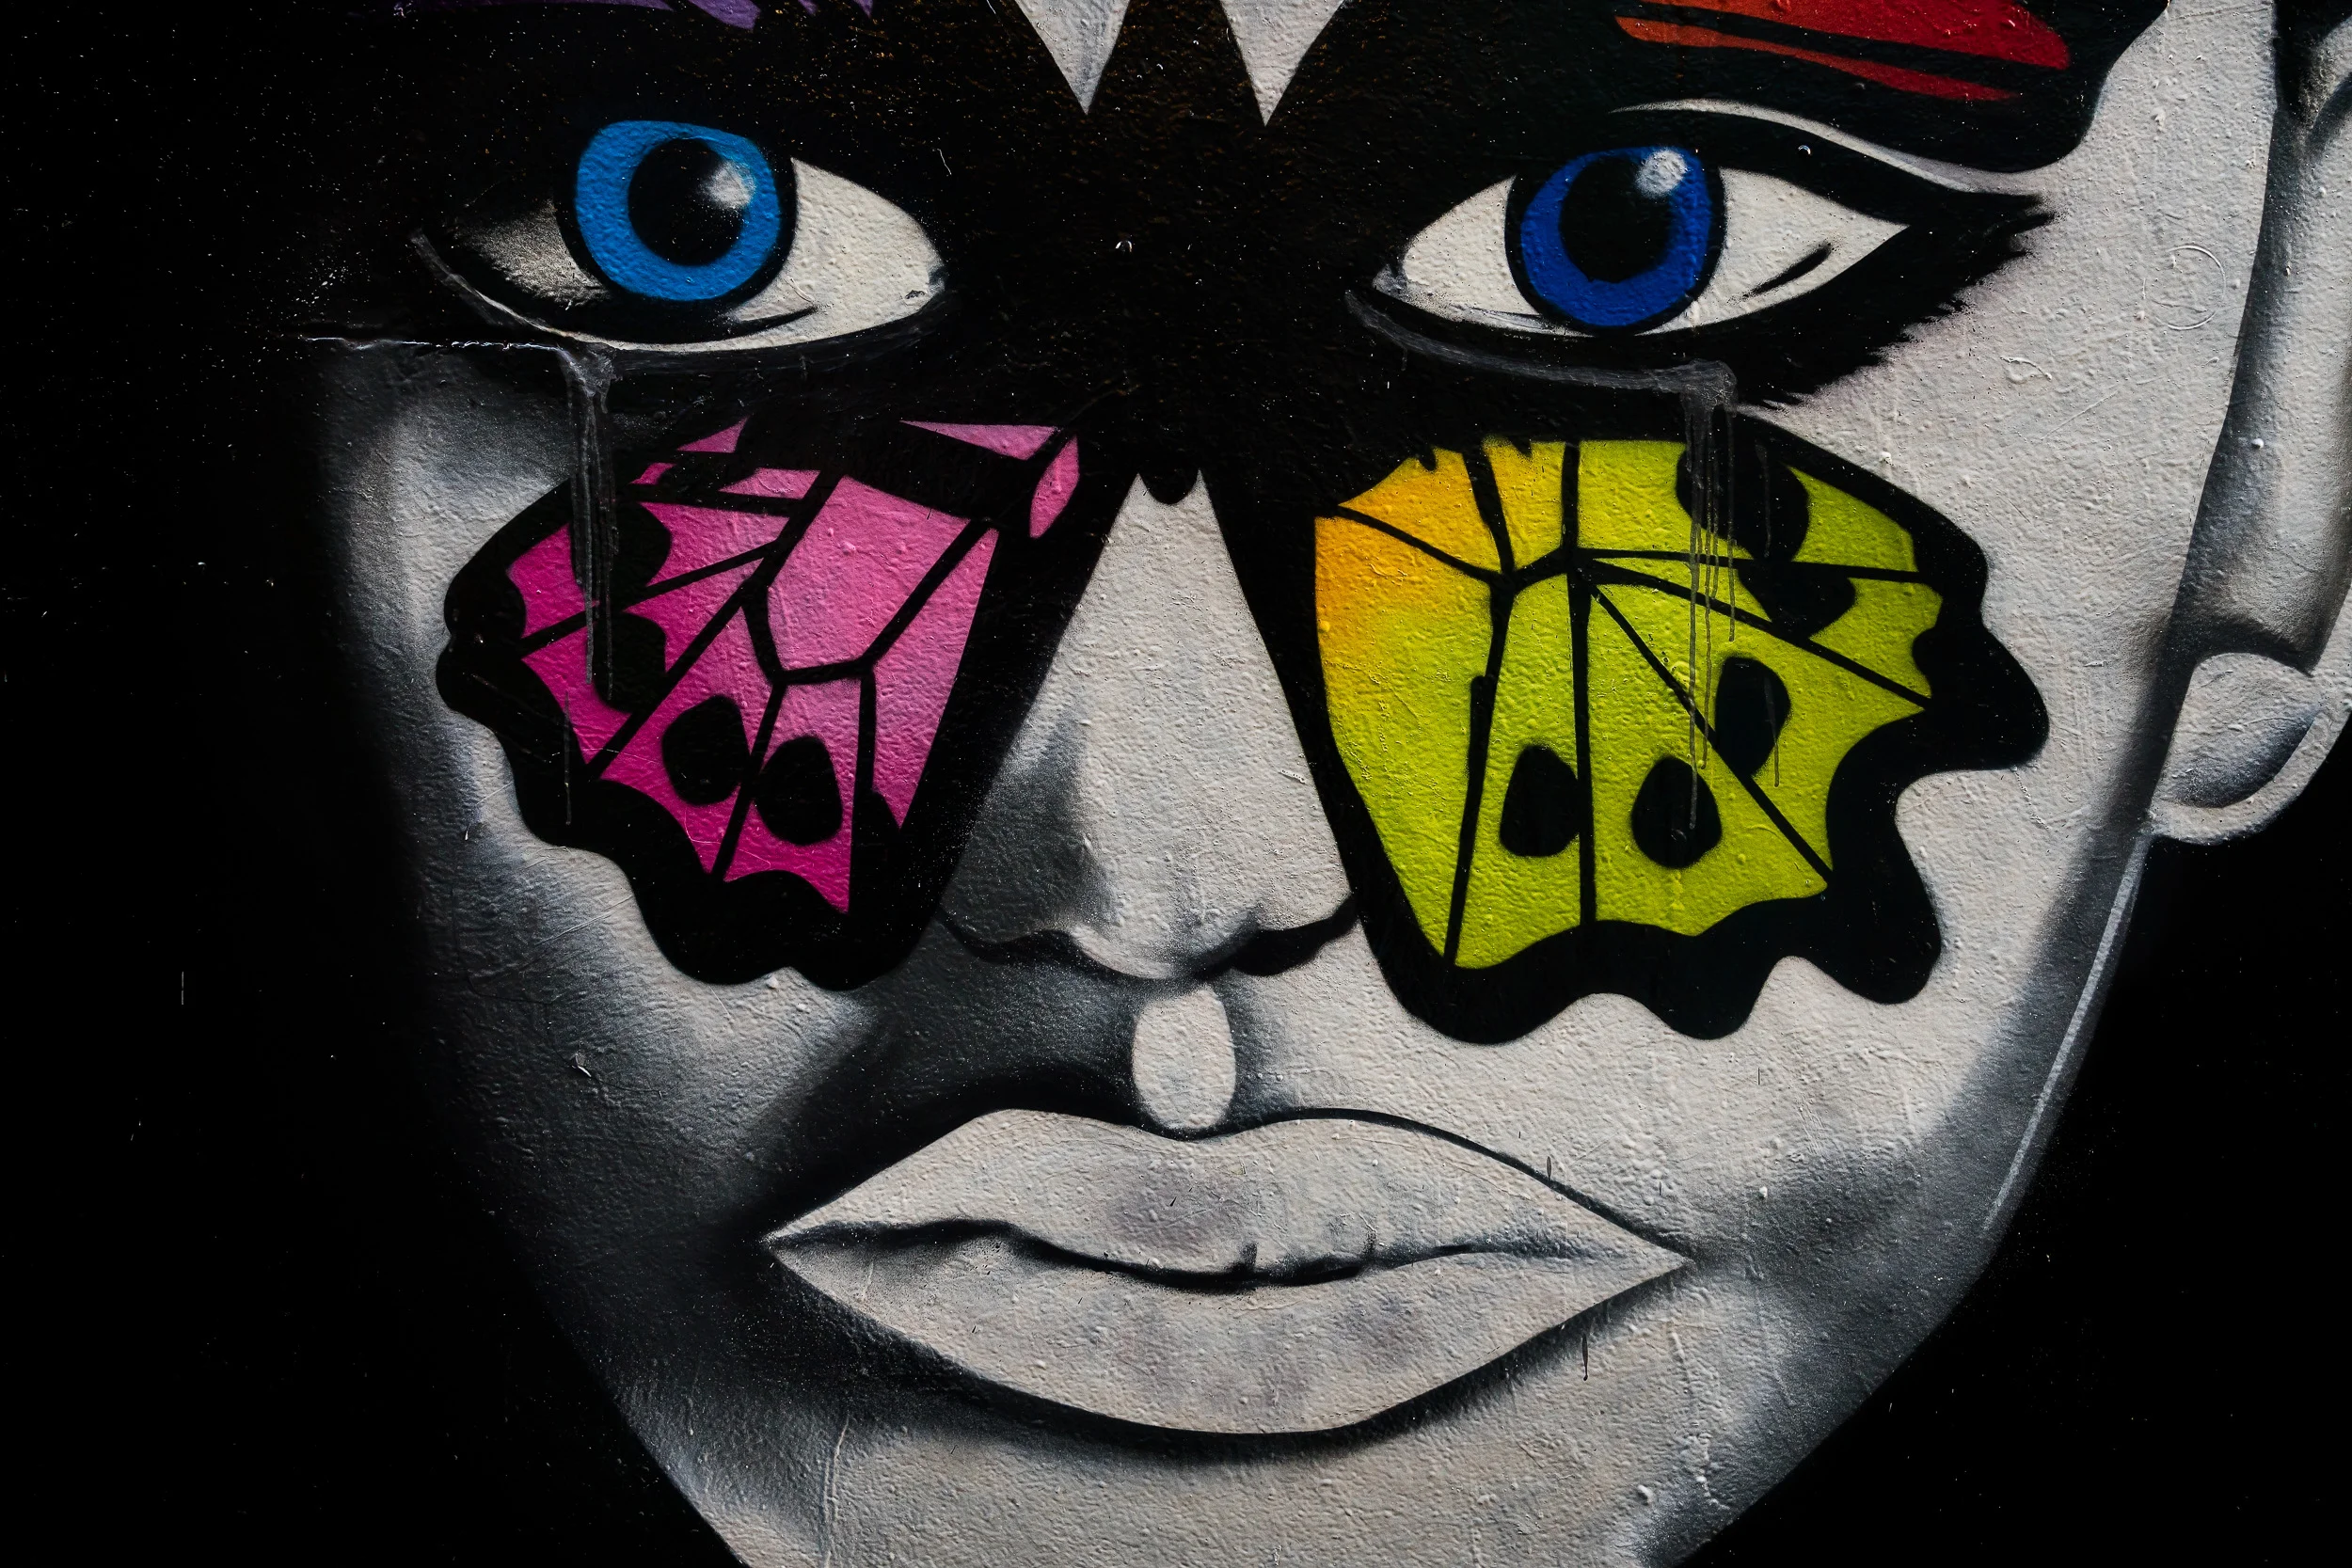
Luminous street art at Hosier Lane, Melbourne.
I've been using Adobe Lightroom, at the core of my digital image workflow, since version 1. I import, organize, and keyword images in Lightroom.
The Software I Use And Recommend
Lightroom is a fantastic and very intuitive tool and I recommend it to anyone interested in taking their photography to the next level.
My initial experience with Photoshop goes back to version 2 (the first Photoshop CC was actually version 14 of the original Photoshop application).
Frankly, I didn't think much of it then and didn't really take to the program, as a serious tool, until version 7.
There's no doubt that Photoshop is now an incredible program and I employ it, as part of my workflow, for most of the images I process.
However, I do not recommend Photoshop as the ideal application for amateur or enthusiast photographers.
Photoshop is now such a big program, containing so many tools and all manner of features that just aren't required outside of the following:
Heavy retouching (e.g., high end fashion)
Composite images (e.g., advertising)
3D images
While I use Photoshop as part of my workflow, I restrict my use to a relatively small portion of its immense range of features.
I use the features within Photoshop that I feel are important, and outside the domain of Lightroom, that can be applied quickly and efficiently.
There are a number of very good plugins that can be used in combination with or separate from Lightroom and Photoshop.
Of these my favorite's come from Nik Software (now owned by DxO), and my absolute favorite is Nik Silver Efex Pro 2 which is a great tool by which to produce fantastic black and white results.
Make sure you check out the Nik Collection, which includes Silver Efex Pro 2.
The Computers I Love To Work With
I currently employ an iMac 27" desktop computer with a 3.5 GHz Intel Core i7 Processor, 24GB of RAM and a 3GB Fusion Hard Drive.
I also have a magnificent EIZO 27" external monitor for serious image editing.
My images, both original and master photoshop files, are all stored on an 8TB Western Digital Duo Drive.
This system has proven to be more than enough for the relatively large files emanating from my previous Nikon D800e and my current Sony a7Rii camera.
It’s particularly the case when working with a sequence of images as part of a High Dynamic Range (HDR) photography workflow.
I also employ a 13" Macbook Pro laptop for travel, presentations and teaching off-site.
Glenn Guy, David Burren and friends, Antarctica Photography tour. Photo David Burren
This Simple Strategy Helps Keep My Photos Safe
While traveling I import the original camera-generated RAW files onto my current Macbook Pro’s internal hard drive.
I also employ two separate Lacie Rugged portable hard drives.
The first unit serves as a backup for the original files while the second acts as the drive for my computer’s Time Machine backups while I’m on the road.
I spent a bucket of money on a Drobo unit for backup at my home office. It caused me a lot of problems and, as a consequence, I gave up on it. I may consider moving my primary backup storage to Synology down the road aways.
The Memory Cards I Use And Recommend
For years I used larger full-frame DSLR cameras that accepted Compact Flash (CF) cards. I preferred the SanDisk 32Gb Pro CF cards, since I bought my first DSLR camera in 2005.
When you’re on a good thing stick to it. However, since I moved up to the much smaller, though still full-frame, Sony A7Rii camera I began using SanDisk and Lexar 128Gb SD cards.
After purchasing a Sony a1 mirrorless camera I’m moving over to Sony Tough 128Gb memory cards. They’re currently very expensive, but they promise a lot and sound like they’re very robust.
I really think it’s worthwhile springing for the best (and that doesn’t necessarily mean largest capacity) memory cards you can afford.
Sometimes the read/write speed of the card is more important than the quantity of images it holds.
It all depends what kind of photography you're doing and how many images you'll likely need to store prior to uploading them to a computer.
While read and write speeds are important, to varying degrees and depending on the application, I also consider build quality and durability to be essential considerations when determining which memory card to purchase.
I imagine there would be nothing worse, particularly after considerable physical effort and expense, to have made a potentially amazing photo only to find the image has become corrupted on the card.
Compared to the money we outlay on camera bodies, lenses and tripods; computers, portable hard drives and software; and, of course, travel and accommodation; upgrading to memory cards that are less likely to fail seems a no-brainer.
It’s the first step along the path of achieving memory insurance for the photos we work so very hard to produce.
Rain Drops on Roses, Mirabell Gardens, Salzburg, Austria.
Raw Or JPEG | What's Right For You
I’ve long been an exponent of RAW exposure and processing. But that doesn’t mean I recommend it to everyone. Quite the reverse!
While RAW is the best option for those prepared to process their image files on the desktop it’s not for everyone.
In fact the whole problem with the RAW vs JPEG discussion is the notion of best, which should probably be replaced with the term most appropriate.
So, regardless of what’s theoretically best, what matters to most folk is what is the most appropriate way to expose, process and store their files.
If photography for you is about being out and about and recording the world around you, and the notion of spending significant periods of time processing those photos on your computer is unappealing, then JPEG may well be the most appropriate option for you.
Do you remember back to the days of film based photography?
While it was possible to process your own photos in the darkroom, the vast majority of photographers left that up to photo labs bearing the name Kodak, Fuji or Agfa.
By setting your camera to JPEG only you’re doing a similar thing.
Setting your camera to JPEG enables the camera to both record and process your photos.
Incidentally, JPEG is an acronym for the Joint Photographic Experts Group. Sounds like a bunch of blokes to me!
The original RAW data recorded by the camera, at the moment of exposure, is processed, in camera, to produce a result with which most folk are usually happy. All the more so if Little Johnny is smiling.
By setting your camera to JPEG the original RAW data recorded is processed by the camera and stored, in a compressed form, on your camera's memory card as a JPEG prior to the RAW file being automatically deleted.
You can also set you camera to RAW+JPEG in which case both versions of the file will be retained.
Because I come from a darkroom background, including days as a newspaper photographer and nine years studying photography at a tertiary level, the idea of being able to process my RAW files to better render the subjects and scenes photographed in line with my own, individual aesthetic was appealing.
What’s more the notion of spending more time on the computer than in the field was acceptable as it was akin to the kind of commitment I was used to from my darkroom days.
Like most other things in photography your choice to be a RAW or JPEG photographer will involve compromise.
JPEG is an efficient format.
The camera processes the file, in an instant, for you. It’s then compressed which allows for greater storage capacity on your camera’s memory card and, later, on your computer or external hard drive.
You can, of course, choose to further process the JPEG file yourself at a later stage.
You’ll be working with a JPEG file and it’s important to understand that that file will be far less responsive to adjustments in color temperature and noise reduction compared to an original and appropriately exposed RAW version of that same image.
But you’ll have more hours in the day available to you.
How I Process My Photos | Single Image Workflow
While on the road I usually manage to complete initial image rating, key wording and, with the exception of HDR, basic processing daily.
My application of choice is Adobe Lightroom. It provides valuable on location feedback and makes life easier after returning home from an extended trip.
But please, take care. Spending hours in front of your computer while away can cause fatigue and result in you missing opportunities for night photography, good food, entertainment and much needed rest.
Images that I'm likely to publish are processed, predominantly, in Adobe Photoshop. However, I believe that, for most folks, Photoshop is simply not necessary.
Photoshop is expensive and very difficult to learn. Unless you’re doing serious retouching, compositing or 3D work it’s unlikely to provide you with the combination of ease of use and flexibility you need.
However the path, to and fro, between Lightroom and Photoshop works really well. And that’s an important reason as to why I continue to employ Photoshop as part of my image workflow.
But to recommend Photoshop to amateur or enthusiast photographers - No, I'd rarely do that.


They are too quite different ways to access Adobe Lightroom, which I can describe as follows:
As a stand alone product, purchased in a box, while it’s still possible to do so.
By renting it, via a subscription, from the Adobe website as part of their Creative Cloud (i.e., CC) suite of applications.
If you opt for the subscription method you pay a regular monthly fee and receive updates and new features as soon as they become available.
You can cancel your subscription at any time.
The subscription model is great for Adobe as no physical product needs to be produced, packaged, shipped, warehoused and sold through retailers.
But it's also great for the end user as we get access to the very latest features as soon as they're released.
There are two extra advantages associated with the subscription model. Firstly there's two key features, HDR and Panorama (image stitching), that are only available in the subscription model.
Second, in addition to Lightroom, folks who opt into the subscription model also get access to a full version of Photoshop CC at no extra charge.
To my mind that represents amazing value.
Where black-and-white rendering is called for I often convert the original RAW files into black-and-white with Nik Silver Efex Pro 2.
Nik Software is now owned by DxO and the Nik Software Complete Collection puts a myriad of creative options within reach of photographers at all levels.
Sometimes for fun, but also in the case of particularly challenging images, I re-visit some black-and-white conversion techniques from much earlier versions of Photoshop.
It’s amazing that some of these excellent tools are still in there today, hidden but by no means forgotten.
“Kept deep in the vaults, only to be taken out at the utmost of need.”
Here's a link to access the Nik Software 2018 Collection.
Exploring tonality under a veranda at the St. Sebastian Cemetery, Salzburg, Austria.
How I Process My Photos | HDR Workflow
My HDR workflow currently commences in Lightroom.
After only a few basic adjustments (e.g., white balance and chromatic aberration) I move into Photoshop where HDR processing is conducted, in line with my personal photography aesthetic, in a way that doesn’t scream HDR.
This is achieved by using the application to combine a series of different exposures into a single composite image in such a way to reduce the Scene Brightness Range down to an acceptable level.
This process is referred to as Tone Mapping.
Of the dedicated HDR applications I currently prefer Nik HDR Efex Pro II, which I very occasionally employ. It’s now owned by DxO and is part of the Nik Software Collection.
Once the Tone Mapping has been conducted and the new composite image is produced I bring the resulting TIF file back into Lightroom for basic image processing, prior to moving it into Photoshop where the image is finished with special sprinkles of fairy dust.
I then title (i.e., name) the image and save it.
Back in Lightroom I move into the Loupe Mode within the Library module (keyboard shortcut E) and compare the final image to the composite Tone Mapped file, which I usually then discard.
I then swap to the Grid Mode (keyboard shortcut g), mark the final image with a four star rating to mark it as being, in my workflow, of publication standard.
I then add appropriate keywords (e.g., landscape, huangshan, china, walks, mountains, snow) and move the image into first position in a group alongside the original RAW files that were used to produce the composite image.
All of these remaining files are then selected and collapsed into a Stack within Lightroom with the final image visible on top.
Not only does this reduce the amount of images visible on my desktop, but it allows me to easily locate the original files associated with the final image.
I’m then able to simply click and drag a virtual copy of that final image into one or more Collections (e.g., rotary talk, holiday 2018, favorite photos, landscapes, China, Chengdu, etc) within Lightroom.
I’m able to do this without actually moving or separating it from the original RAW files that were used to generate the composite Tone Mapped file.
This is a great way to retain folder structure on your hard drive.
The final thing I do before publishing an image is to apply a preset to it which, while applying the appropriate Copyright designation, identifies it as being available for sharing according to limited non-commercial usage under a very specific Creative Commons license.


